
How to Teach Improv (Step-by-Step for Drama Teachers)
Learn how to teach improv step by step with strategies that help students build strong characters, relationships, and engaging scenes.
DRAMA TEACHER RESOURCES
Katie Zakkak
4/15/20263 min read
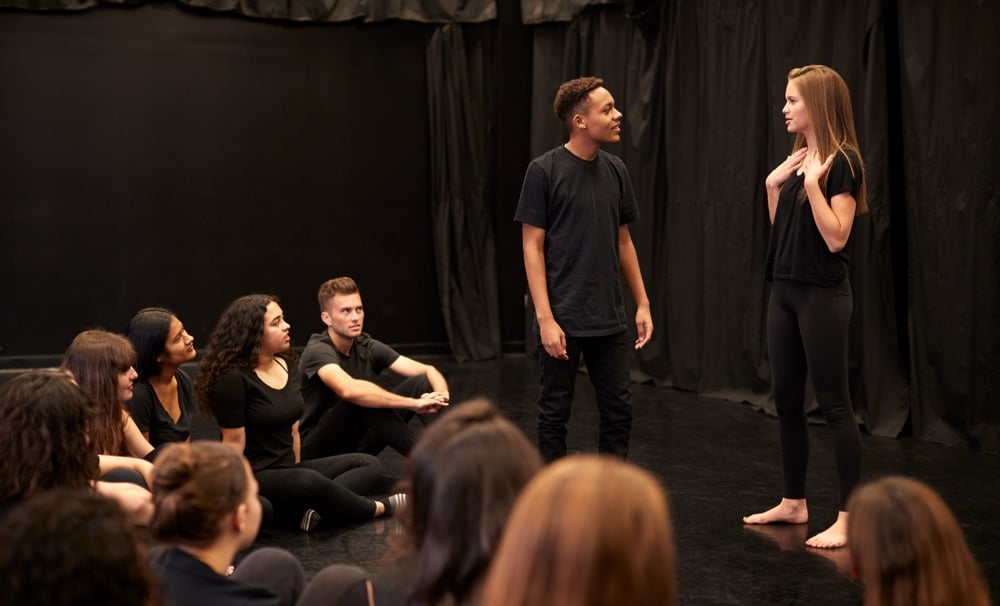
Teaching improv can feel tricky.
On the surface, it looks like students are just being silly and making things up.
And sometimes… that is exactly what is happening.
Students:
• Create random characters
• Say whatever comes to mind
• Try to be funny… but it does not land
And the result?
👉 Scenes that feel chaotic instead of engaging
👉 Humor that does not connect with the audience
👉 Students who are unsure what they are actually supposed to be doing
The truth is, improv is not just about being funny.
It is about storytelling, listening, and making strong choices.
When students understand that, everything changes.
Grab the Free Drama Classroom Toolkit
If you want ready-to-use activities and planning tools, download my Drama Classroom Toolkit.
It includes warm-ups, lesson structures, and strategies that make teaching drama, including improv, much easier.
Step 1: Teach That Improv Has Structure
Before jumping into games, students need to understand:
It has:
• Guidelines
• Techniques
• Clear goals
Without that foundation, students tend to default to:
• Random ideas
• Over-the-top silliness
• Disconnected scenes
Instead, we want them thinking:
👉 “How do I build a scene that works?”
Step 2: Start with “Yes, And” (Listening First)
The most important improv principle is:
👉 Yes, and
This means:
• Accept what your partner gives you
• Add something to move the scene forward
But more importantly…
👉 It is about listening
Students often focus on what they are going to say next instead of what is actually happening in the scene.
You can practice this with simple exercises where students must respond directly to what their partner just said.
👉 Helpful tool:
Using improv prompt cards or a generator helps students focus on responding instead of overthinking ideas.
You can also use my Improv Prompts Generator HERE
Step 3: Build Strong Characters (Not Just Funny Ones)
One of the biggest mistakes students make is trying to create the “funniest” character.
But what actually works is:
Students should think about:
• Objective (what do I want?)
• Personality
• Physicality
Strong characters lead to stronger scenes.
Random characters lead to confusion.
Step 4: Establish Relationships Early
Great improv scenes usually start with:
👉 A relationship
Instead of:
“Hi, I’m meeting you for the first time…”
Encourage:
• Best friends
• Siblings
• Co-workers
• Rivals
When characters already know each other, students can:
• Build history
• Create conflict faster
• Develop more interesting interactions
Step 5: Teach Objectives and Conflict
Every strong scene has:
👉 An objective
👉 An obstacle
Each character wants something.
And ideally…
👉 Those wants conflict
For example:
• One character wants to stay, the other wants to leave
• One wants the truth, the other wants to hide it
This creates natural tension, which makes scenes more engaging.
Step 6: Keep Scenes Active with Pantomime
One of the easiest ways to improve improv scenes is:
👉 Add physical action
Instead of standing and talking, students should:
• Use pantomime
• Interact with imaginary objects
• Stay physically engaged
This keeps scenes dynamic and often creates natural humor.
Because what makes a scene funny is not randomness…
👉 It is commitment and action.
Step 7: Focus on Story (Beginning, Middle, End)
Students need to understand:
👉 Improv scenes are still stories
Even short scenes should have:
• A clear setup
• Development
• Some form of resolution
Without structure, scenes feel unfinished.
With structure, they feel satisfying.
Step 8: Practice with Structured Improv Games
Once students understand the basics, you can introduce games that reinforce these skills.
Here are a few strong options:
1. One Word at a Time Scene
Students build dialogue one word at a time, forcing listening and collaboration.
2. Replay with a Risk
Students perform a scene, then repeat it with a stronger objective or physical choice.
3. Objective Switch
Halfway through the scene, students must change what they want.
4. Environment First Scene
Students establish a clear setting through pantomime before speaking.
5. Relationship Reveal
Students must clearly show their relationship within the first few lines.
👉 You can generate prompts for these using my:
Improv Prompts Generator
Why Students Struggle with Improv (And How This Fixes It)
Students struggle with improv because they:
• Try to be funny instead of truthful
• Do not listen
• Do not understand story structure
When you teach:
• Yes, and
• Objectives
• Relationships
• Physical action
You shift improv from chaos to creativity.
Want a Full Improv Unit Done for You?
If you want a structured way to teach all of these skills, my full Improv Unit walks students through:
• Foundations of improv
• Character development
• Scene structure
• Performance skills
Step by step.
Want 50+ Improv Games Ready to Go?
My Improv Bundle includes:
• A full improv unit
• 50 improv games
• Improv suggestion cards
So you always have activities ready for any class.
Helpful Tools for Teaching Improv
These tools make improv activities easier to run:
• Improv prompt cards
• Timer for scene limits
• Simple props for scene inspiration
Frequently Asked Questions About Teaching Improv
How do you teach improv to beginners?
Start with listening exercises, simple structure, and low-risk activities before moving into full scenes.
What are the basic rules of improv?
The key principles include “yes, and,” listening, building relationships, and creating clear objectives.
Why are improv scenes not funny?
Scenes often fall flat when students focus on being random instead of building a clear story with strong characters and objectives.