10 Improv Games for Teens That Build Confidence Step by Step
Discover these 10 easy, scaffolded improv games for teens that build confidence step by step. This is perfect for mixed-level drama classes as well as beginners.
DRAMA TEACHER RESOURCES
Katie Zakkak
3/18/20265 min read
Affiliate Disclosure: This post may contain affiliate links. As an Amazon Associate, I earn from qualifying purchases.
If you have ever taught a drama class that students are required to take, you're familiar with this scenario:
A few students are thrilled.
Most are cautious.
Some are visibly terrified.
In my first four years of teaching, every student at my school was required to take drama as an elective, so I did not get a self-selected group of theatre lovers. I got athletes, introverts, reluctant participants, and students who were convinced they were “bad at drama.”
That experience shaped how I approach improv.
Confidence is not something we demand. It is something we build deliberately.
When teachers search for improv games for teens, what they are often really searching for is this:
“How do I help students feel safe enough to try?”
The sequence below starts with an extremely low risk and gradually increases in vulnerability. If you follow this progression, you will see confidence grow naturally.
Why Sequencing Matters When Teaching Improv Games for Teens
Before jumping into activities, let’s talk about structure.
The most effective improv games for students:
• Start with movement before voice
• Avoid individual spotlight early on
• Keep instructions simple and clear
• Build ensemble before performance
• Increase risk gradually
This is especially important in mixed experience classrooms or when teaching improv theatre games for beginners.
I've broken the suggested drama games into levels of "risk" from Level 1 where there is no individual spotlight, all the way to Level 4, where students are truly starting to perform. By slowly raising the risk level, students have time to gain confidence before being asked to do too much.
Now let’s start at the very bottom of the risk ladder.
Level 1: Zero Spotlight, Pure Movement and Laughter
These games are ideal for day one or day two. No lines. No characters. No pressure to be funny.
1. Mirror Tag
Students spread out in the space. One student is “it.” When tagged, that student must freeze in a simple pose. To unfreeze them, another student must mirror the frozen pose exactly for three seconds.
Why this works:
There is no performance. No dialogue. No creativity pressure. Just movement and quick reactions.
Confidence builder:
Students begin making bold physical choices without feeling judged.
Tips:
To make it smooth and clear, try creating a boundary area using spike tape or cones.
2. Follow the Leader Walkabout
Students walk around the room. You quietly tap one student to become the leader. Everyone else must subtly copy their movements without obvious staring. After 30 seconds, switch leaders.
Why this works:
No one speaks. No one is singled out. Leadership rotates naturally.
It builds ensemble awareness before any actual improv exercises begin.
3. Human Obstacle Course
In small groups, students create frozen “obstacles” using their bodies. One volunteer slowly navigates through the course without speaking.
Why this works:
The focus is on space and teamwork, not performance.
Confidence builder:
Students begin using physicality playfully without verbal pressure.
Tip:
Be sure to remind students not to physically touch one another.
4. Slow Motion Group Race
Divide into teams. Each team must cross the room in exaggerated slow motion while maintaining one shared physical action, such as “walking through mud” or “moving underwater.”
No dialogue allowed.
Why this works:
Shared silliness lowers defenses quickly.
Tip:
Remind them that the purpose is to work together and focus on one another, not to "win" the race.
This is still part of your foundational improv exercises for beginners, even though students may not realize they are “doing improv” yet.
Level 2: Shared Voice, Minimal Individual Risk
Now we slowly introduce sound and simple verbal participation.
5. Line Echo
Students stand in two lines facing each other. One side says a neutral sentence such as “I’m on my way.” The other side repeats it with the exact same tone and physicality. Continue back and forth trying different tones and intentions.
Why this works:
Students are copying, not inventing.
This bridges into traditional improv games for students without overwhelming them.
6. Environment Build
In groups of four, students silently create a location, for example a grocery store or amusement park, using only physical actions. After 20 seconds, one student adds a single line that fits the environment.
Why this works:
Most of the work is non verbal. Only one student speaks, and the line is grounded in shared context.
Tip:
For ready-to-use scene starters, check out my Improv Prompts Generator.
7. One Word Scenes
In pairs, students begin a simple scene. They are only allowed to add one word to the scene at a time. They may add physical action but only one word at a time can be said. The goal is to create simple scenes with a clear beginning, middle, and end.
Example:
Student 1: (lifting a pantomimed box) Help
Student 2: (joins in lifting the box) Woah
Student 1: (dropping her side) Aah
Student 2: (drops the box on his toe) Ow
(The scene would then continue on with a beginning, middle, and end)
Why this works:
The performers need to think creatively while still not having too much pressure to create long scenes and dialogue.
Tip:
For ready-to-use scene starters, check out my Improv Prompts Generator.
Level 3: Structured Character and Emotional Risk
By this point, students have laughed together and moved together. Now we increase complexity.
8. Character Layer Build
In pairs, students create two characters. After the three steps of character creation. the students improvise a scene together as the characters.
Step 1: Add a physical trait
Step 2: Add a vocal change
Step 3: Add a clear objective
Because the layers are added gradually, this feels manageable for improv theatre games for beginners. If the class is ready, have students preform their scenes for one another.
Tip:
Use simple costume pieces such as hats or scarves to encourage physical transformation.
9. Replay With a Risk
Pairs perform a short 30-second scene. Before replaying it, they must name one specific risk they will take, stronger voice, clearer objective, bigger physicality.
Why this works:
This is one of my favorite improv exercises because growth becomes visible immediately.
Tip:
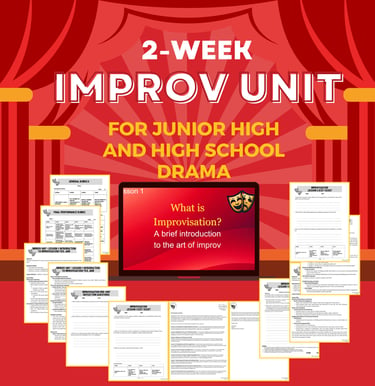
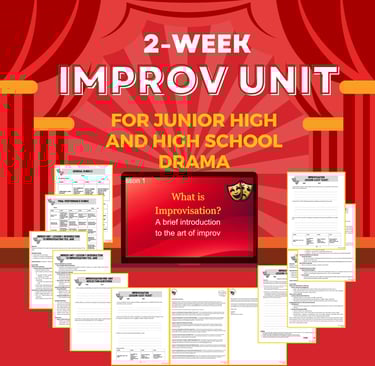
If you want a fully scaffolded sequence like this, my complete Improv Unit walks students through confidence-building step by step.
You can also find it inside my full Improv Bundle.
Level 4: Individual Spotlight With Structure
Now students are ready.
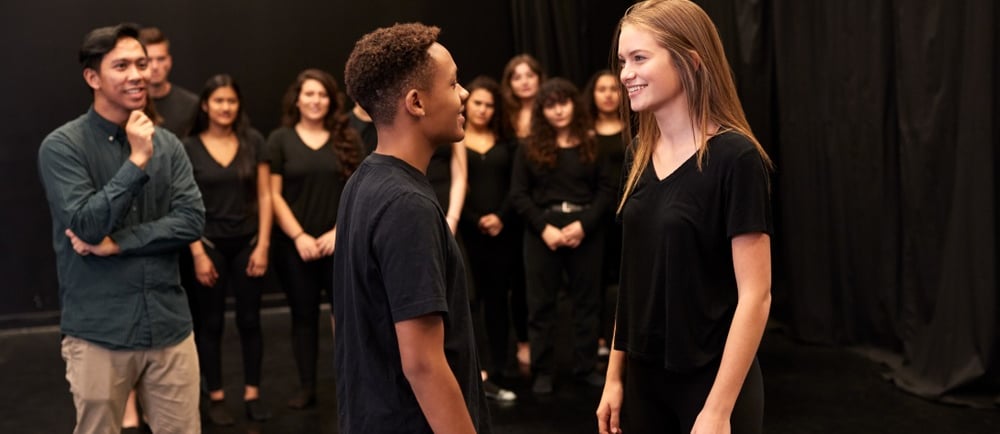
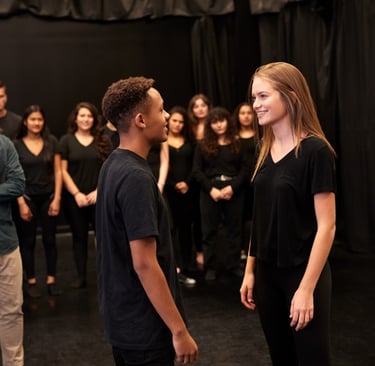
10. Hot Seat
Students create unique characters and prepare to put their character in the "hot seat." Students take turns as their character in the hot seat. Call on about three questions per student.
Why this works:
Structure keeps it safe. The “hot seat” character is not being attacked. The format feels familiar.
The Bigger Picture
When I was teaching required drama classes, I learned quickly that you cannot throw students into high-pressure improv on day one.
If you build the ladder carefully:
Movement
Shared laughter
Low voice risk
Structured character
Then individual spotlight
Confidence follows.
If you are building your improv curriculum from scratch, start with this sequence. Then explore:
• My complete Improv Unit
• The full Improv Bundle
And if you want practical systems for running your drama classroom, including planning tools and organization support, download my Free Drama Classroom Toolkit and join my email list.
You do not have to figure this out alone.
Confidence in drama is not accidental. It is built intentionally, one carefully chosen activity at a time.